Call Us Call Us Here
Whatsapp Us Whatapp Us Here

The UATS blog showcases to Explore the How to prepare walls for painting
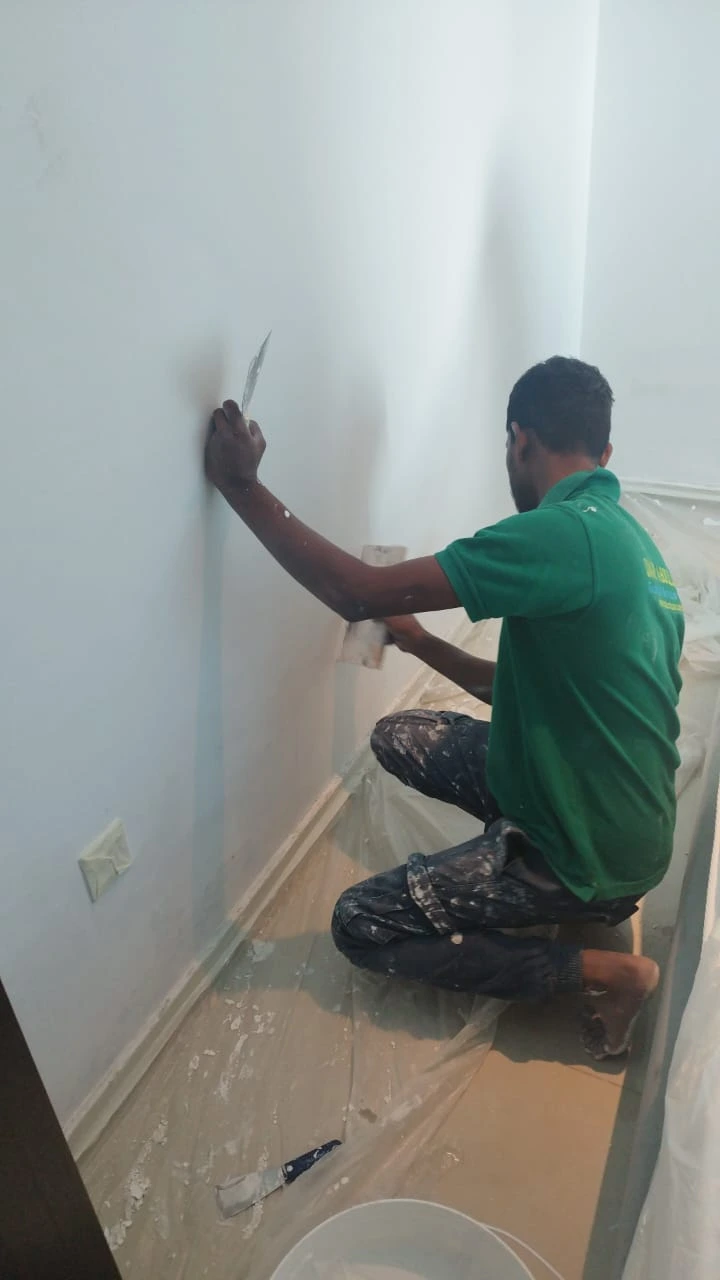
How to prepare walls for painting
feature image of How to prepare walls for painting

few more Images of How to Prepare Walls for Painting Like a Pro
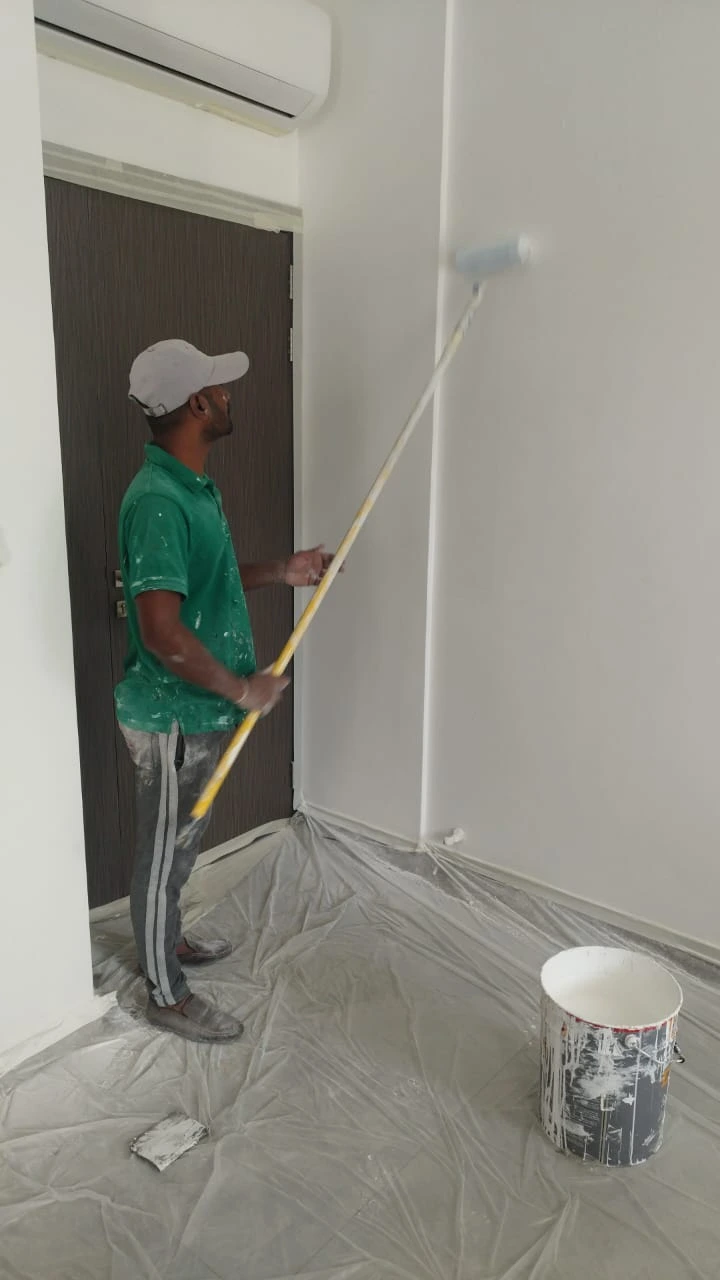
How to prepare walls for painting

How to Prepare Walls for Painting by UATS painting company.

Preparing walls for painting is a crucial step to achieving a flawless, professional finish. At UATS, we understand the importance of properly preparing walls to ensure the longevity and visual appeal of your paint job. In this guide, we will take you through the detailed process of wall preparation, including the necessary tools, materials, and step-by-step instructions.

Importance of How to Prep Walls for Painting 

Before diving into the painting process, wall preparation is essential for several reasons:

  • Ensures smooth and even application of paint.
  • Improves paint adherence to the surface.
  • Prevents cracks, peeling, or bubbling in the future.
  • Enhances the overall aesthetic appeal of the finished job.

By investing time and effort in preparation, you can avoid costly touch-ups or repairs later on.

Tools and Materials Required for Preparing Walls for Painting

To prepare your walls effectively, gather the following tools and materials:
Cleaning Supplies:

  • Mild dish soap
  • Cellulose sponge
  • Plastic bucket
  • Cleaning cloths

Repair Tools:

  • Putty knife
  • Sandpaper (medium and fine grit)
  • Drywall tape
  • Joint compound or filler
  • Scraper

Painting Preparation Tools:

  • Painter’s tape
  • Drop cloths (canvas recommended)
  • Step ladder or aluminum stool
  • Primer
  • Paint stir sticks

Optional:

  • Caulk and caulk gun
  • Masking tools for precision
 
Step-by-Step Guide to Preparing Walls for Painting

Step 1: Assess the Wall Surface

Inspect the walls for imperfections such as cracks, holes, peeling paint, or mold. Highlight these areas so you can address them during the preparation process.

Step 2: Clean the Walls

Cleaning removes dust, grime, and grease, which can affect paint adhesion.

  1. Mix mild dish soap with lukewarm water in a bucket.
  2. Use a sponge to gently scrub the walls in a circular motion.
  3. Rinse with a damp sponge and allow the surface to dry thoroughly.

Tip: For kitchens or high-traffic areas, use a degreaser to remove stubborn stains.

Step 3: Repair Damaged Areas

Addressing imperfections is key to achieving a smooth finish:

  1. Patch Holes and Cracks:

    • Use a putty knife to apply joint compound to holes and cracks.
    • Smooth the surface and let it dry.
    • Sand with fine-grit sandpaper until flush with the wall.
  2. Repair Nail Pops:

    • Hammer protruding nails back into place.
    • Cover with drywall tape and apply joint compound.
  3. Peeling Paint:

    • Scrape off loose paint with a scraper.
    • Sand the edges to create a smooth transition.

Step 4: Sand the Walls

Sanding creates a smooth surface for primer and paint:

  1. Use medium-grit sandpaper to remove rough patches.
  2. Follow with fine-grit sandpaper to achieve a polished finish.
  3. Wipe down the walls with a damp cloth to remove dust.

Step 5: Apply Painter’s Tape

Protect trim, corners, and any fixtures by applying painter’s tape.

  • Press the edges firmly with a putty knife to prevent paint bleeding.
  • Use longer strips of tape to minimize gaps.

Step 6: Prime the Walls

Primer is critical for enhancing paint adhesion and color vibrancy.

  1. Stir the primer thoroughly before application.
  2. Using a 2-3 inch angled brush, apply primer along the edges and corners.
  3. Use a roller for the rest of the wall, ensuring even coverage.
  4. Allow the primer to dry as per the manufacturer’s instructions.

Tip: For dark-colored paint, use a tinted primer for better coverage.

Step 7: Address Gaps with Caulk

For gaps between walls and trim:

  1. Use a caulk gun to apply acrylic latex caulk along gaps.
  2. Smooth out the caulk with a damp finger or tool.
  3. Allow the caulk to dry completely before painting.

Additional Tips for Professional Results

  1. Use drop cloths to protect your floor and furniture. Canvas is durable and reusable.
  2. Invest in high-quality tools like Purdy® brushes and Sherwin-Williams primers for better outcomes.
  3. Work in well-lit and ventilated areas to ensure precision and faster drying.

Why Choose UATS choose UATS professonal company for painting ?

At UATS, we are dedicated to delivering impeccable painting and preparation services in Dubai. Our experienced team uses advanced techniques and tools to prepare your walls for a stunning paint job. Whether it’s repairing drywall, priming surfaces, or addressing ceiling imperfections, we’ve got you covered.

Transform your home or office with our expertise. Contact UATS today and experience the difference in quality and service. Let us handle your wall preparation needs, ensuring a flawless finish every time!