How to Install Wallpaper Like a Pro
Installing wallpaper can transform a room, adding texture, pattern, and personality to your space. However, to achieve a professional-looking finish, the installation process requires careful preparation and attention to detail. This detailed guide, brought to you by Umar Abdullah Technical Services L.L.C., will walk you through each step of installing wallpaper like a pro.
1. Selecting the Right Wallpaper
Choosing the right wallpaper is the first and most crucial step in the process. The right selection will depend on your style, room type, and the specific conditions of your walls.
- Consider the Room’s Purpose: For high-traffic areas like hallways and kitchens, consider durable, washable wallpaper that can withstand wear and tear. In bedrooms and living rooms, you may prefer softer textures and patterns that create a cozy atmosphere.
- Evaluate the Wall Condition: If your walls have imperfections, textured or patterned wallpaper can help disguise them. Smooth wallpapers, like metallics or silk finishes, require perfectly smooth walls to avoid highlighting flaws.
- Choose the Right Material: Wallpapers come in various materials, including vinyl, paper, and fabric. Vinyl is durable and easy to clean, making it a good choice for most rooms. Fabric wallpapers add a luxurious feel but are harder to maintain.
- Pattern and Color Selection: Think about how the pattern and color of the wallpaper will interact with the rest of your décor. Large patterns can make a small room feel even smaller, while lighter colors and small patterns can create an illusion of space. Always get a sample and test it on your wall before making a final decision.
2. Prepare the Walls
Before applying wallpaper, it’s crucial to ensure the walls are smooth, clean, and dry. Proper wall preparation is the foundation of a successful wallpaper installation.
- Clean the walls: Start by removing any dirt, dust, or grease from the walls. Use a mild detergent and a sponge to wipe down the surface, then rinse with clean water and let it dry completely.
- Repair imperfections: Inspect the walls for any cracks, holes, or uneven surfaces. Fill small holes with spackling paste and sand them smooth. For larger imperfections, you may need to apply a skim coat of plaster.
- Remove old wallpaper: If there’s existing wallpaper, it must be removed entirely. Use a wallpaper steamer or a solution of water and wallpaper remover to soften the adhesive, then gently scrape it off with a putty knife.
- Prime the walls: Applying a primer is essential, especially on newly plastered or painted walls. A primer-sealer will create a smooth surface and help the wallpaper adhere better.
3. Measure and Cut the Wallpaper
Accurate measurement and cutting are critical for a seamless wallpaper installation.
- Measure the wall height: Measure the height of the wall from the baseboard to the ceiling. Add an extra 2-4 inches to this measurement to allow for trimming at the top and bottom.
- Cut the wallpaper strips: Roll out the wallpaper on a flat surface and cut it to the measured length. If your wallpaper has a repeating pattern, ensure that the pattern aligns correctly when cutting each strip. Label the back of each strip with a number to keep track of the order.
- Account for pattern repeats: If your wallpaper has a large pattern repeat, you’ll need to consider this when cutting. Make sure each strip aligns with the previous one so that the pattern continues seamlessly across the wall.
4. Apply the Adhesive
The type of wallpaper you choose will determine the adhesive application method. There are two common types: pre-pasted and unpasted wallpaper.
- Pre-pasted wallpaper: This type comes with adhesive already applied. To activate it, simply immerse the wallpaper strip in water according to the manufacturer’s instructions. Once activated, fold the wallpaper with the adhesive sides together (a process called “booking”) and let it sit for a few minutes.
- Unpasted wallpaper: For unpasted wallpaper, you’ll need to apply adhesive manually. Use a paint roller or brush to apply a thin, even layer of wallpaper paste to the back of the strip. Be sure to cover the edges thoroughly.
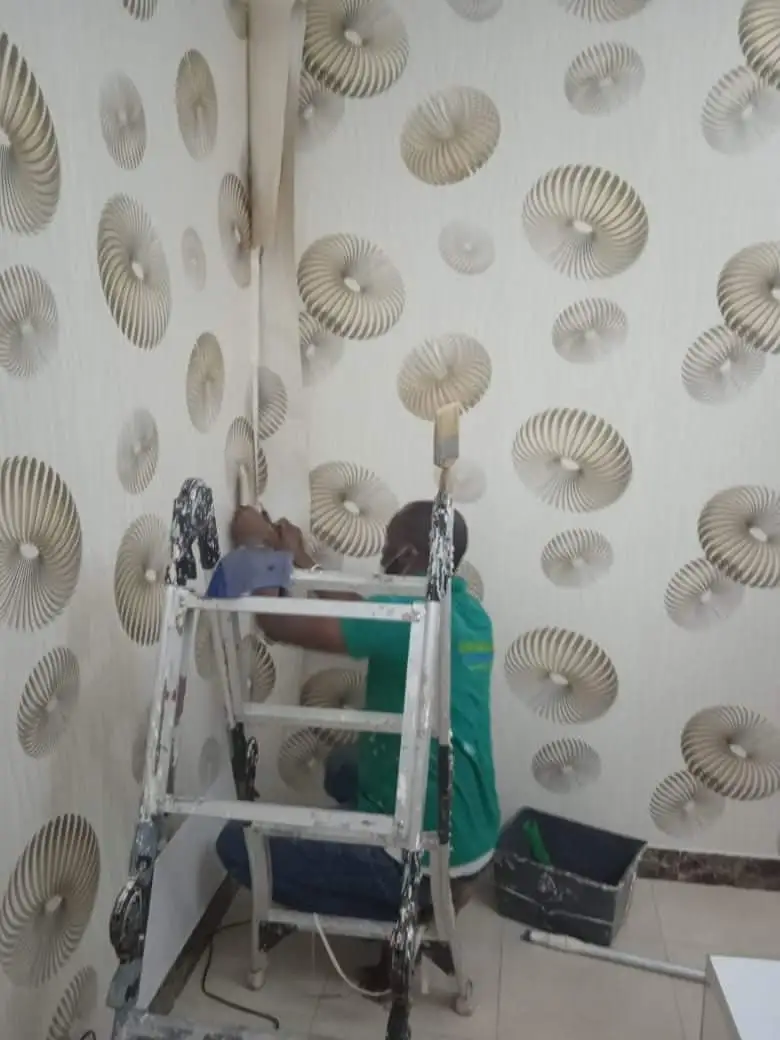
5. Hang the Wallpaper
Hanging wallpaper requires precision to ensure it is straight and properly aligned.
- Start from a corner: Begin in a corner or at a point where an entire strip can be hung without cutting around obstacles like windows or doors.
- Align the first strip: Position the first strip of wallpaper against the wall, ensuring it is perfectly vertical. Use a plumb line or level to check for straightness. Leave excess wallpaper at the top and bottom for trimming.
- Smooth out air bubbles: Once the strip is positioned, use a wallpaper smoothing tool or brush to smooth it out from the center towards the edges. This will remove air bubbles and ensure good adhesion. Be gentle to avoid stretching or tearing the wallpaper.
- Trim excess wallpaper: Use a sharp utility knife and a straight edge to trim the excess wallpaper at the ceiling and baseboard. Make sure the cuts are clean and precise.
6. Match Patterns and Seams
For a professional finish, it’s essential to match patterns and seams carefully.
- Align the next strip: Hang the next strip of wallpaper by aligning it with the previous one. Make sure the pattern matches perfectly at the seam. Gently slide the strip into position if necessary.
- Butt the seams: The edges of the wallpaper strips should butt together without overlapping. Press the seams lightly with a seam roller to ensure they lay flat and adhere well. Avoid pressing too hard, as this can squeeze out the adhesive and cause the seams to lift later.
7. Finishing Touches
After all the wallpaper is hung, some final touches will help perfect the installation.
- Trim around obstacles: Use a utility knife to carefully trim the wallpaper around windows, doors, and outlets. Take your time to ensure clean, precise cuts.
- Seal the seams: For added durability, especially in high-traffic areas, consider applying a seam sealer along the edges of the wallpaper strips. This will help prevent the seams from lifting over time.
- Clean any adhesive residue: Use a damp sponge to gently wipe away any excess adhesive that may have squeezed out during installation. Be careful not to damage the wallpaper surface.
8. Let It Dry
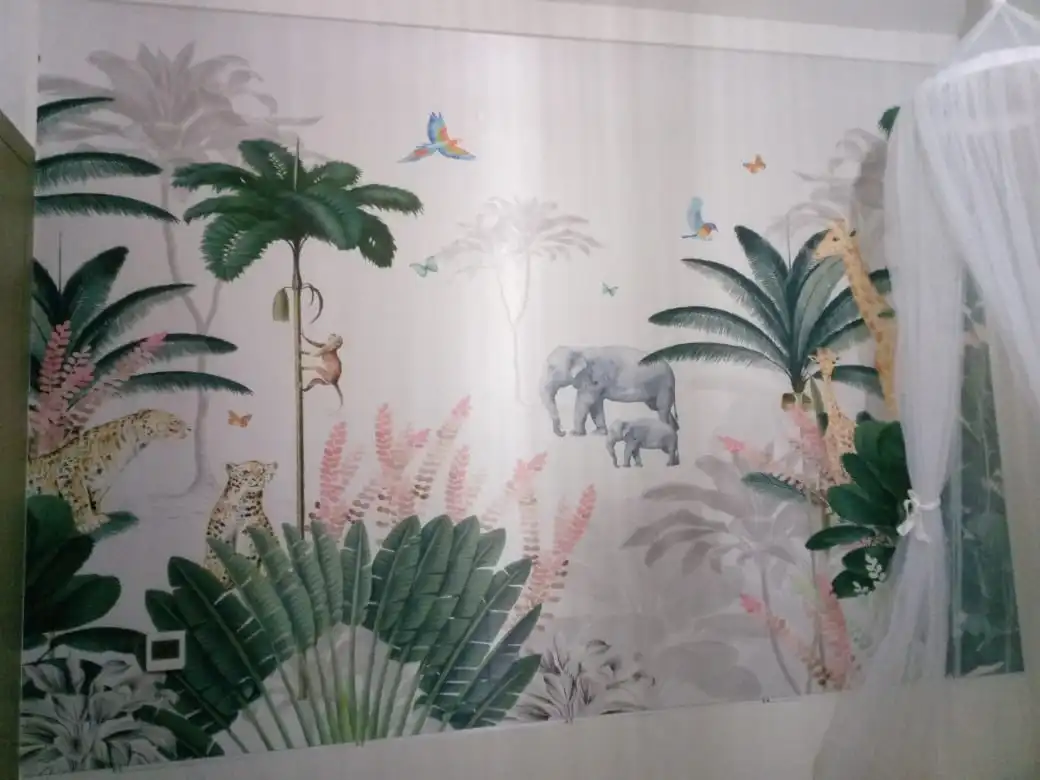
Allow the wallpaper to dry completely before moving furniture back into the room or hanging pictures. Drying times can vary depending on the type of wallpaper and adhesive used, but it typically takes 24 to 48 hours.
By following these steps, you can achieve a professional-looking wallpaper installation that enhances the beauty of your space. Whether you're installing wallpaper in a single room or throughout your home, Umar Abdullah Technical Services L.L.C. is here to provide expert advice and services to ensure your project is a success.
This article is brought to you by Umar Abdullah Technical Services L.L.C.
 Call Us Here
 WhatsApp Us Here